PRESS RELEASE
Wednesday 31 July 2013
For immediate release
HAMPSHIRE CHARCUTERIE TAKES A BOW
After two years of training and hard work a group of local pig
farmers today unveiled their own range of charcuterie to the public. The
producers were honoured to welcome HRH The Countess of Wessex to their stand at
the New Forest and Hampshire County Show to officially launch Hampshire
Charcuterie.
The launch marked the culmination of the ‘Preserving the
Hampshire Hog’ project which was created and led by the county food group,
Hampshire Fare and supported by The Prince’s Countryside Fund. The project was
designed to tackle the challenges faced by pig farmers including increasing
feed costs and a lack of European funding. The future was looking uncertain for
our local pig farmers with many losing £20 per pig reared.
Two years on and the farmers involved in the project are now
more confident about the sustainability of their businesses. The project has
given them the opportunity to have training from charcuterie expert,
Marc-Frederic Berry. As evident at today’s New Forest and Hampshire County Show
they are now skilled charcutiers themselves with the ability to create salami,
chorizo, pâté, bresaola, pancetta from their locally reared meat. This
diversification into new products extends the shelf life of the producers’ meat
through curing and adds value to the meat.
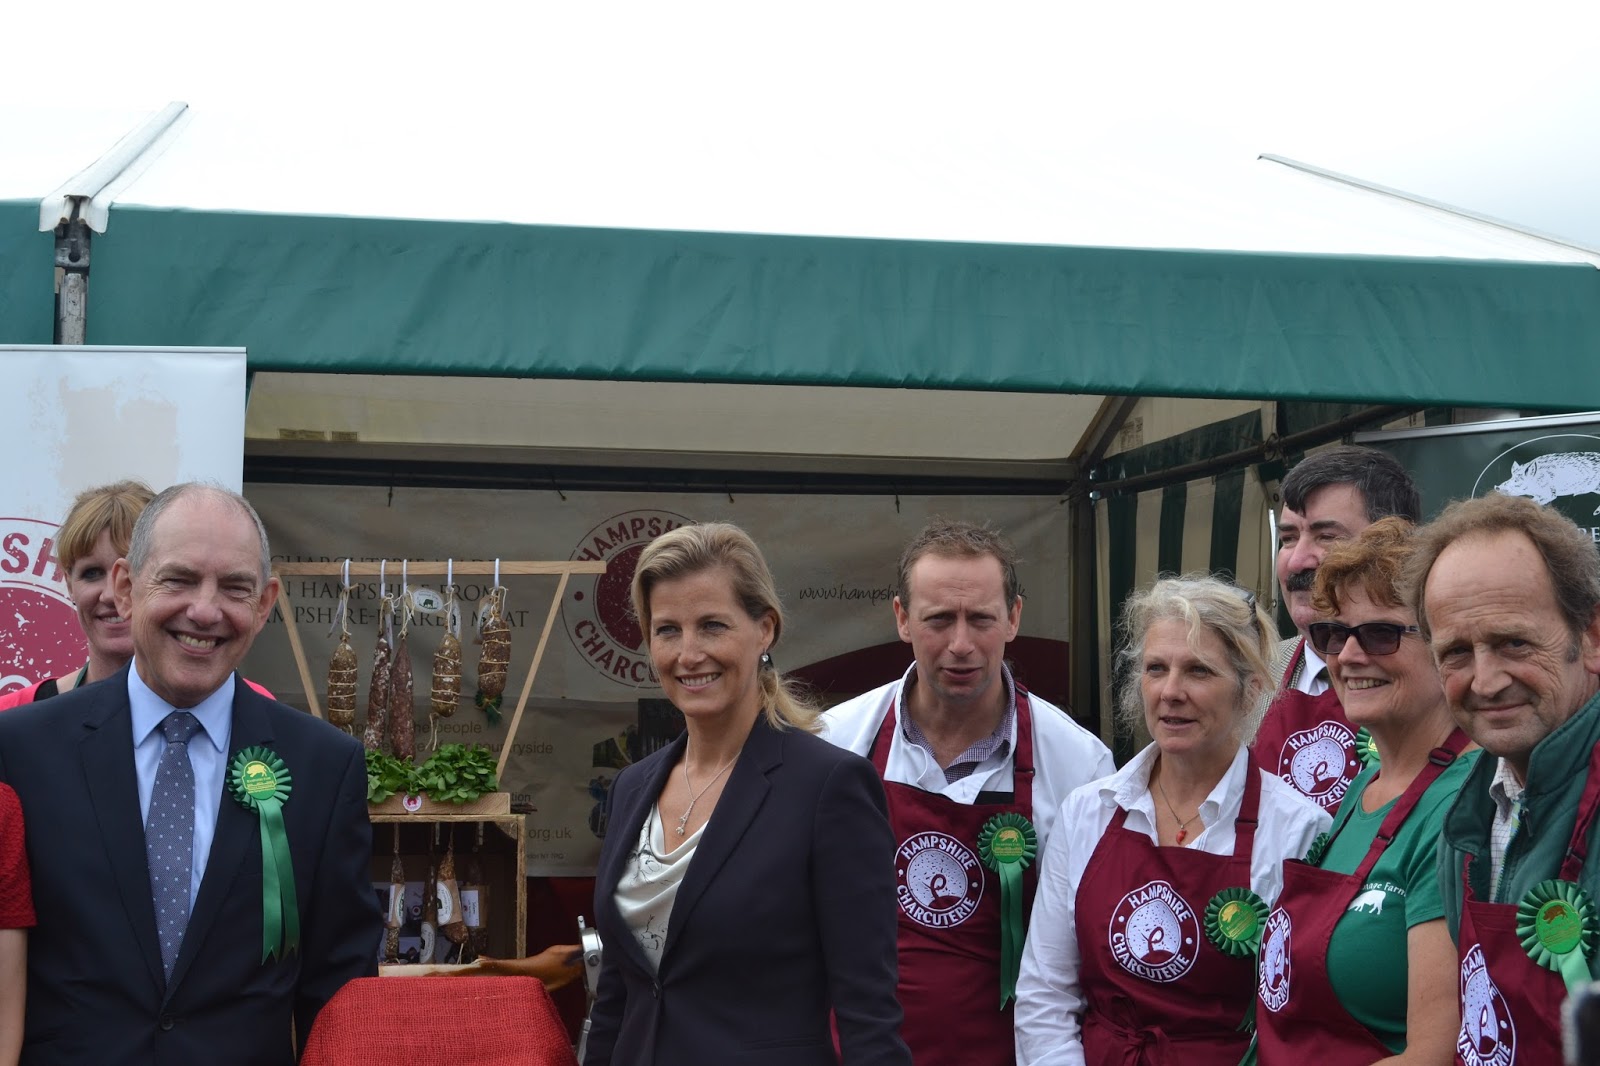
Hampshire Charcuterie was launched by HRH The Countess of
Wessex during today’s New Forest and Hampshire County Show. After chatting to
the producers and sampling some charcuterie the Countess unveiled a wooden
plaque to mark the start of Hampshire Charcuterie. Mike Wright, Chairman of
Hampshire Fare, spoke at the launch:
“Hampshire Fare has worked closely with local producers to
deliver an innovative project. We are extremely proud of the outcome. The
success of the project is evident in today’s amazing display of delicious
charcuterie made from Hampshire meat by our talented local producers.
The project has only been possible thanks to the support of The
Prince’s Countryside Fund and the talents of Marc-Frederic Berry. We are all
very excited about the future of Hampshire Charcuterie. We ask local
restaurants to get behind the products and feature them on their menus and for
members of the public to support Hampshire Charcuterie too. Help us to preserve
the Hampshire hog!”
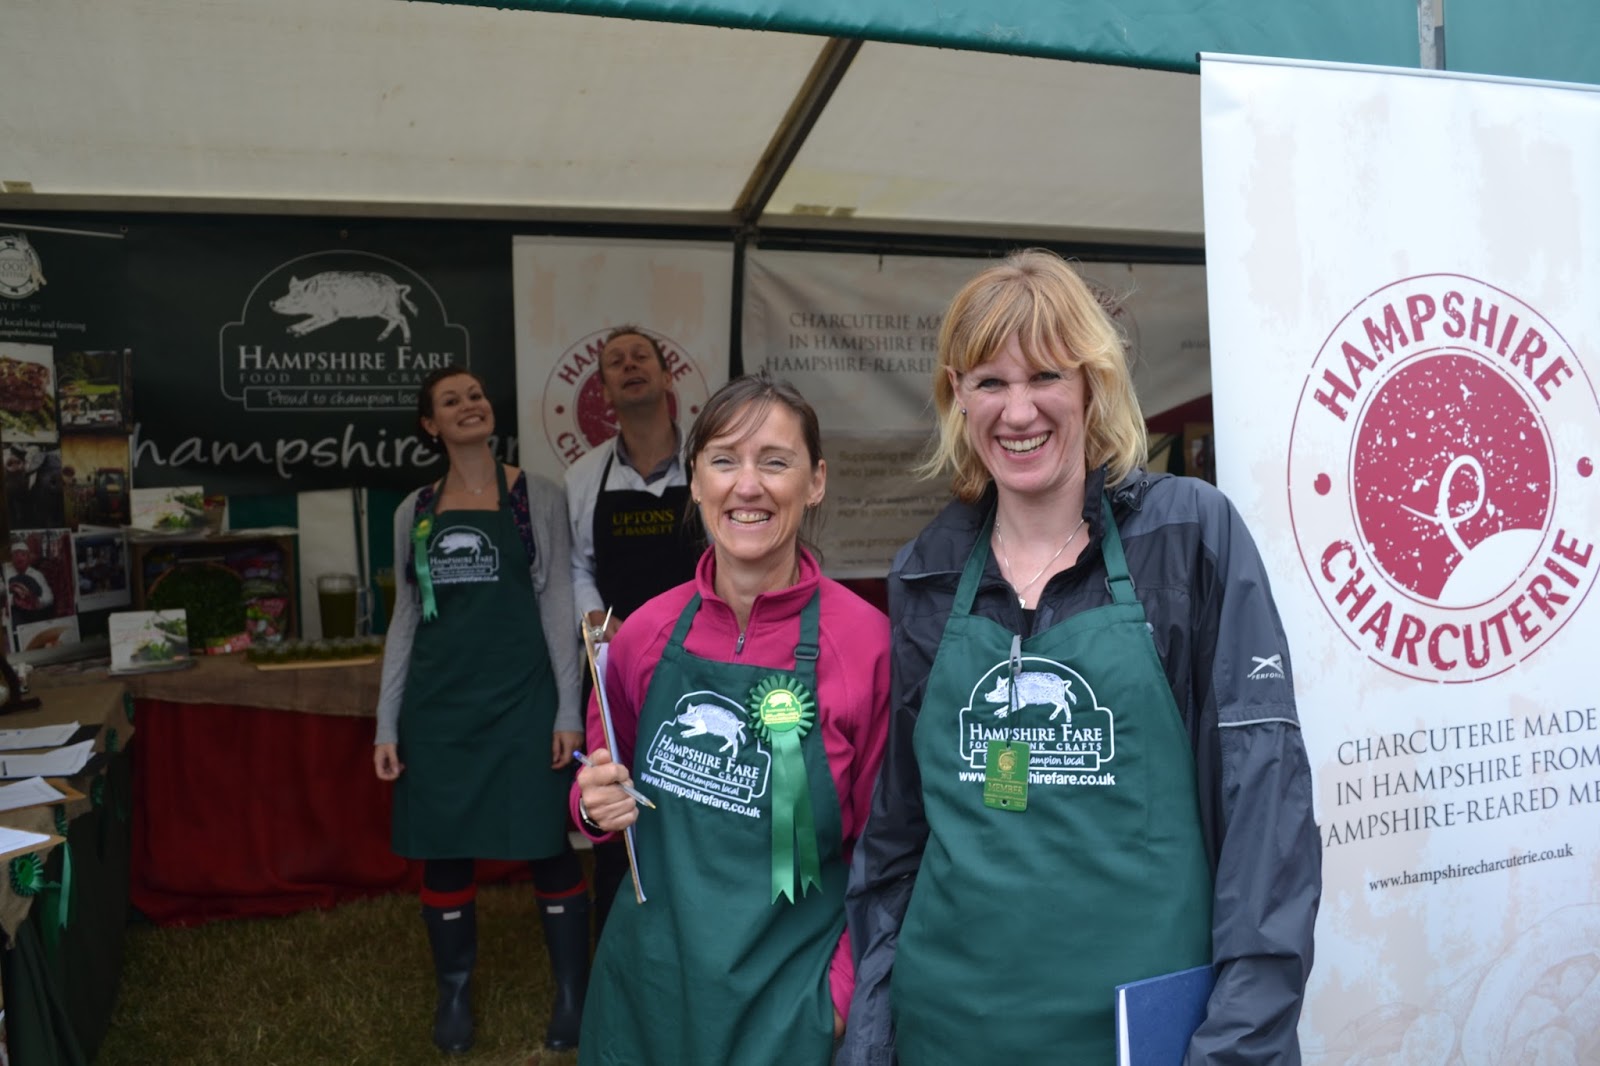
The Hampshire Charcuterie stand certainly drew in the crowds at
today’s show with visitors commenting on the array of flavours and quality of
the products. Rob Golding from Hayling Island was impressed by the salami: “It
is delicious and it is great that we can buy it and be supporting local
producers. I also like the idea of knowing the provenance of the charcuterie
and the fact that it is great quality.”
Hampshire Charcuterie is being produced across the county by
independent producers working together on the range. For more details of how to
try and buy Hampshire Charcuterie visit www.hampshirecharcuterie.co.uk
or call Hampshire Fare on 01962 847098.
Charcuterie – explained by the expert, Marc-Frederic, in his
book ‘Le Charcutier Anglais’.
“Charcuterie is the artisan skill of taking raw meat and
preserving it by curing, smoking, cooking or a combination of all three
methods. Some examples are; Jambon, Boudin Noir, Gayettes, Fromage de Tête and
Pâté en Croute (translated as ham, black pudding, faggots, brawn, and pork
pies) – to name just a few.”
ENDS
· Images
– press photographers were in attendance but a link to photos will be
circulated by Hampshire Fare as soon they have been approved by the Royal press
office.
· ‘Preserving
the Hampshire Hog’ was launched in 2011 by Hampshire Fare. The project has
engaged more than 30 farmers and producers with more than 10 now stocking their
own Hampshire Charcuterie. The project was funded by The Prince’s Countryside
Fund. More background about the project is available online: http://www.hampshirefare.co.uk/pages/PreservingtheHampshireHog.asp
·
Comments from project participants: Martin Martindale
from Greenfield Pork Products “The project has taught me a whole range of
techniques I didn’t know and wouldn’t have had the opportunity to learn. I have
been able to experiment with these new skills to come up with a range of
charcuterie I can now offer my customers. Over time I can see that it is really
going to help my business,”
Simon Broadribb from
Uptons of Bassett: “The project has inspired me to do more and create new
products. We now offer products including lardo, chorizo and black pudding. The
reaction from the public has been really encouraging.”
Hampshire Fare is supported by Hampshire County Council,
together with Hampshire Fare’s Corporate Partners: Ecover UK LTD, Fuller Smith
& Turner, Hampshire Chamber of Commerce, Ideal Collection, leepeckGroup,
Newsquest (Southern) UK, Sparsholt College, The Southern Co-operative and Wave
105; and our Corporate Friends: Apollo Internet Media, Ascot Racecourse Ltd,
Business Solent, Guildhall Winchester, Handover HR, The National Trust, New
Forest & Hampshire County Show, NFU Mutual, Starfish Creative Design, Upham
Brewery. Campaign to Protect Rural England (CPRE) Hampshire and New Forest
Marque are Strategic Partners.
Hampshire
Fare aims to:
· increase
awareness among the public and trade of the wide range of local produce available
· champion
local food, drink and craft
· foster
good business practice and assist producers to compete as viable enterprises
· encourage
high standards of production and presentation
· organise
marketing activities - festivals, exhibitions and promotions - to promote food,
drink and craft from Hampshire
· develop
initiatives to incorporate local food and drink into public sector menus
For further information please contact:
Nancy Judge
PR Officer
Nancy.Judge@hampshirefare.co.uk
01962 845435
Visit our website and sign up for our e-newsletter at:
www.hampshirefare.co.uk
Follow us on Twitter: www.twitter.com/HampshireFare
Like us on Facebook
Hampshire Fare C.I.C.